|
|
|
Taping an Inside Corner |
|
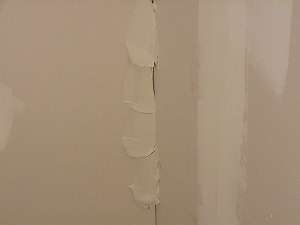
The joint between two pieces of drywall is key to a new installation. Practice is the key. If you can, you might want to experiment on two pieces before you take on a real wall. Taping an inside corner is a normal part of installing drywall. As with other drywall procedures, multiple thin coats are the key. One note, drywall compound is sometimes referred to as "mud." |
 |
|
Items needed:
Joint Compound
6" tape knife Drywall Tape Sandpaper (150 grit is a good choice) |
Safety Suggestions and Tips
Keep coats very thin
Check evenness placing flashlight in corner |
Level of difficulty
 Time Required: 2 hour
|
|
|
|
Steps |
|
|
|
|
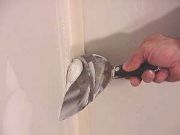
Step 1: Using a 6" tape knife, plop compound on either side of the joint. Put enough on to cover the area. Use your knife to spread out the compound. This will form the bed that you will lay the tape into. |
|
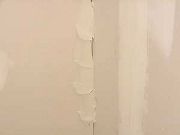
Step 2: Tear off an appropriate length of tape and fold the entire length in half. Push the tape into the corner. Insert your tape knife into the fold and push the tape firmly into the corner. Spread out the tape and use your tape knife to work the tape smooth. Work the tape on both sides from top to bottom so that you get most of the mud out from behind the tape. The tape should be wrinkle-free. |
|
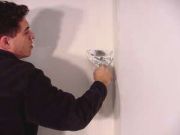
Step 3: If you have a corner trowel, use your 6" knife to apply another coat over the tape. Use the corner trowel to smooth the tape in the corner and remove excess compound. If you do not have a corner trowel, work one side at a time. |
|
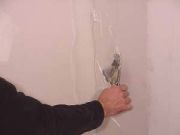
Step 4: After the compound has dried, sand out any imperfections (do not sand into the tape) in the compound. Apply one more layer of mud to the corner. Use a thin layer and make sure that you clean up any marks in the compound. Let dry and finish sand. |
|
Related articles
|
||||