|
|
|
|
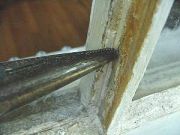
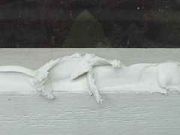
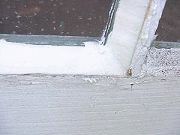
Step 5: Next, remove the old glazer's points from the wood |
|
|
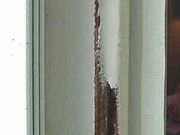
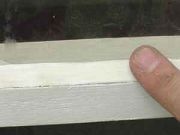
Step 6: If the muntins are made of wood, make sure that the wood underneath the old glazing compound is primed with an oil-based exterior primer. Measure the interior dimensions of the muntins and go get an appropriately sized piece of glass. It is OK to allow 1/16" to 1/8" less than the smallest dimension. |
|
|
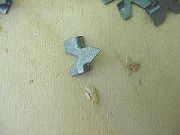
Step 7: Put a thin ribbon of compound around the window frame for the glass to rest in. Place the piece of glass in the opening and secure the glass in the opening with the glazer's points. The points are also available ad small flat diamonds and triangles, but this type is easiest to work with |
|
|
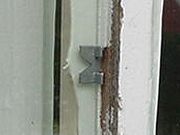
Step 8: Put the points against the glass with the "cleats" facing towards you. Put the scraper against the cleats and force the point into the wood. Use at least two points per side. |
|
|
Step 9: Using the small putty knife, lay in an excessive amount of glazing compound. |
|
|
Step 10: Spread the compound out with a putty knife by holding one edge against the glass and the edge on the muntin. Note that the amount of compound put into the joint is determined by how far away you put the edge of the knife along the glass. |
|
|
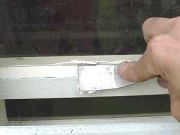
Step 11: Using a wide (6" or wider) knife, spread the compound that has oozed from under the patch around the patch and smooth with your finger. Make sure you work as much compound as possible from under the paper. The face of the patch should be under a light haze of compound. Let dry and lightly sand. |
|
|
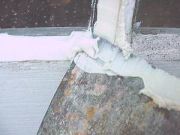
Step 12: Draw the compound along the joint. When you come to a corner, simply draw the knife out of the joint towards you. |
|
|
Step 13: Allow the compound to dry and then paint the compound, check the container for the drying time and type of paint you should use. |
|
|
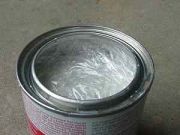
Step 14: Before you close that can, place a small piece of kitchen wrap to help seal out air from drying the compound for your next use. Some suggest adding a layer of liquid (thinner/oil), but I find that this makes the compound weaken over time. |
|
|
|
|
|
|
|
|
|
Related articles
|
||||