|
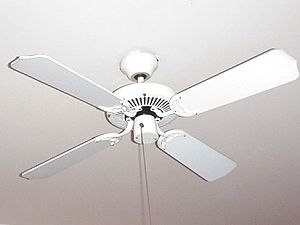
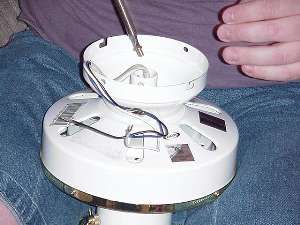
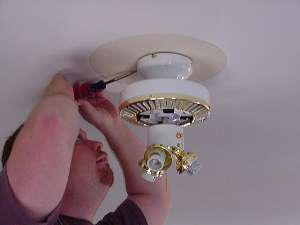
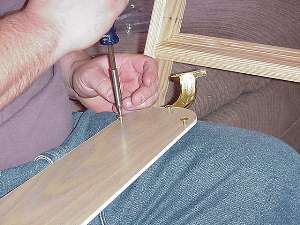
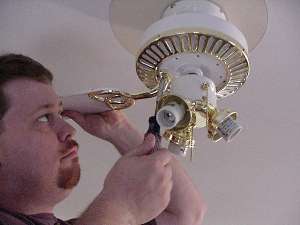
Ceiling Fan Installation |
|
|
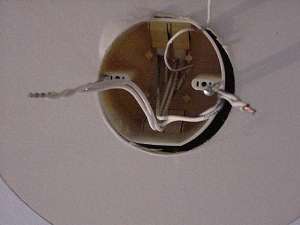
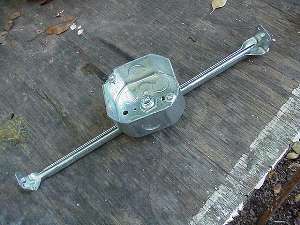
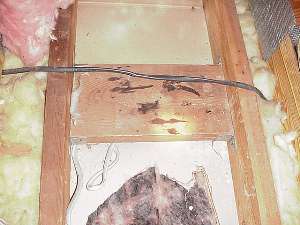
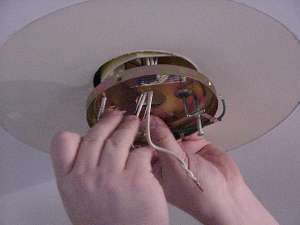
Ceiling fans are a great addition to any room.
A slow fan speed in the winter will help move the warm air at the
ceiling down into the living area. A more brisk speed in the summer
helps your air conditioner seem more effective. Ceiling fans are fairly
easy and safe to install. All you need is a basic knowledge of electricity
and some basic tools. If you do not have your fan yet, Click
here to buy it online! |
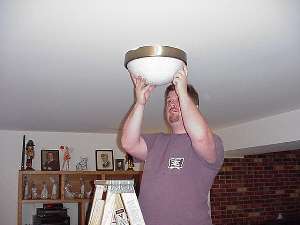
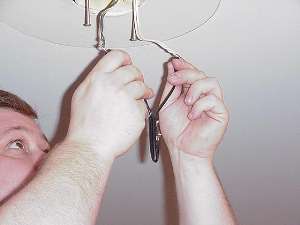
Ceiling fan installation |