|
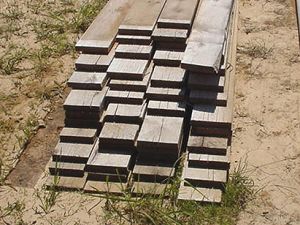
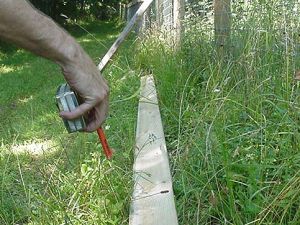
Cut and Pre-Drill the Boards
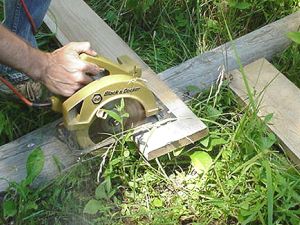
With the board marked, cut off the
ends using your circular saw. Some fencers use a chain saw, but
this tends to be more dangerous and produces a rough and uneven
edge.
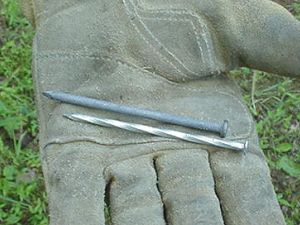
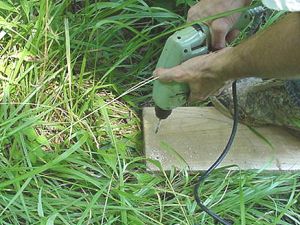
When hand nailing it is best to
pre-drill the holes for the nail. It takes more time to
pre-drill and we recommend this for the following reasons.
-
Less board splitting
-
Less effort when hand nailing
-
Faster time to first secure the
board and less time required to hold the board in place
-
Allows for one-person operation
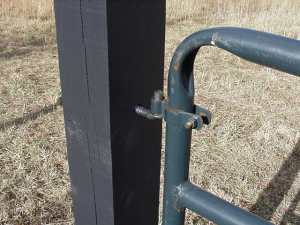
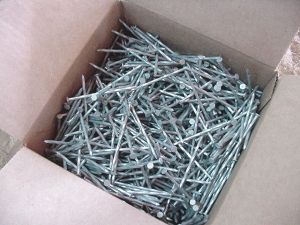
Nailing the Boards
A heavy framing hammer is a prerequisite.
Lighter weight hammers require too much effort to drive the nail
through the oak and into the post.
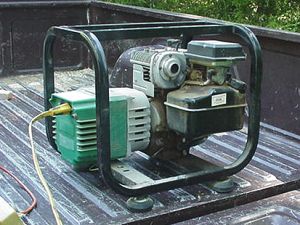
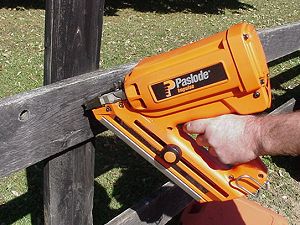
As an alternative to hand nailing
you can buy or rent nail guns. Cordless nailers use a battery
and fuel cell. The nails are coated and available in ring shank for
a better grip. A nail gun and compressor can be used, just be sure
to use a large framer nail gun or you will not be able to penetrate
the oak board.
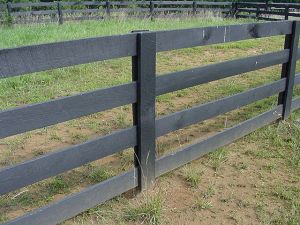
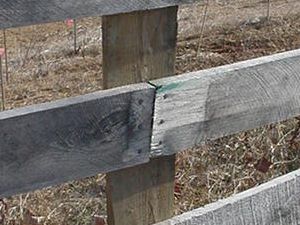
Spacing the Boards
Start by nailing in the top
board. Rather than marking for the lower boards, you can make
a hanging jig from 2 x 4. The jig should hang over the top
board and nail on blocks as hangers for the lower boards. This
will allow for one-person installation and eliminate to hold up the
lower boards.
|