|
Installing Backerboard
Once you have the cement board cut to the correct
dimensions, it is time to install it in the hole.
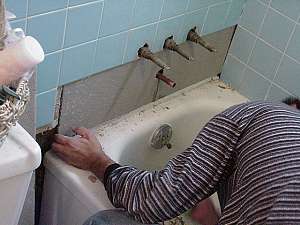
Put the cement board in the hole you have created.
It should be tight but fit in without breaking up the corners. Do not force
it. If it does not fit in easily, take it back out and trim it.
Place the cement board back in the hole and check to
make sure that it aligns with the existing wall. If it is too low, you may have
to shim the board out to the proper level. You can do this with traditional
shims (wedge-shaped pieces of wood) or by cutting slim "furring strips" and
nailing them to the studs.
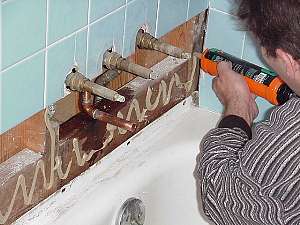
When you have the cement board cut to
size, remove it from the hole and apply some construction adhesive to the
exposed framing members. This is simply some insurance to make sure that
everything holds together tight.
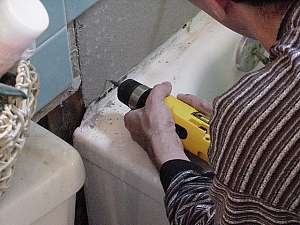
Put the cement board in place and secure
it to the wall with screws. There are special screws that you should use for
this. They have a fairly coarse thread and are galvanized. They should be
available wherever you obtained the cement board. If you can not find the
special screws, just make sure that whatever you use is galvanized.
One note about installation. If you have
to use several pieces of cement board to fill in the holes, there is no need to
worry about the small gaps yet. We'll fill them in with thinset mortar in the
following steps.
|
|