|
Roll the Wall
The roller cover that you use depends on
the wall surface. A lower nap cover is suitable for smooth walls. I prefer the
covers with the plastic inserts as they can be washed and reused. Take out the
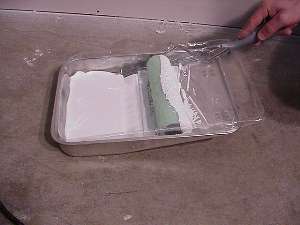
paint tray and pour enough paint into the deep end to fill it about half way.
Use the sash brush to clean the groove in the top of the bucket.
Roll the roller down the pan and about
halfway into the paint. Pull it back and work it up and down the pan to spread
the paint over the entire roller cover.
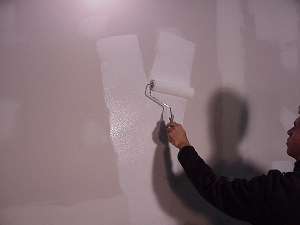
Start near an area that you already have
cut-in. Holding the roller up to the wall, roll a 2' "V" onto the wall. Then
work the paint out into a smooth coat. Make sure that you roll over any areas
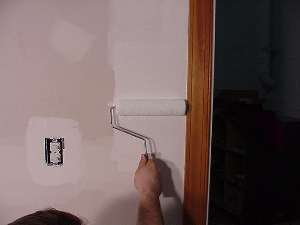
that you cut-in. Get as close as you can to the molding in order to hide the
brush strokes to the extent possible. While painting, you will likely leave
"lines" on the wall. These lines are areas where the paint is thicker. You
need to go over these lines in order to evenly distribute the paint. Go over
the line in the same direction. If this does not get rid of the line then roll
over it perpendicular to the line (see picture).
Clean Up
I generally use a newspaper to remove the
roller cover and then throw it away. You can clean these or put them in a
sealed plastic bag if you want to re-use it. If you are using latex paint,
everything will clean up with water. If you used oil, you need to use thinner
or mineral spirits, but with roller this is not very cost effective.
|