|
Sanding the Floor
After you have selected the sander that you want to
use, it is time to put on the sandpaper and get to work. Always keep in mind
that the objective is to remove as little wood as possible to get the job
done.
Picking the Sandpaper
In general, you are going to start with a coarse-grit
sandpaper and work your way up to a finer-grit sandpaper for the final sanding.
A good rule of thumb is to start with as fine a paper as will get the job
done. An easy way to determine the right grit is to test a small,
inconspicuous patch with a fine or medium grit paper. Generally 60 or 80. If
the paper is taking up the appropriate amount of material, keep using it. If
that particular grit isn't cutting enough or if the paper becomes clogged then
you should move down a grade. When moving between grits, it is a VERY good idea
to vacuum the floor.
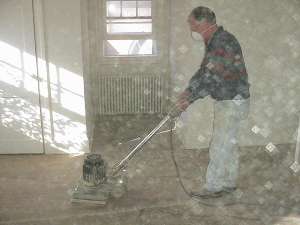
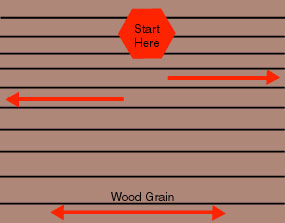
Sanding the floor with a DRUM sander
When sanding with a drum sander, only sand to within
4-6 inches of the wall. Start in the middle of the room and sand one half at a
time (see diagram). On most drum sanders there is a lever that lowers the drum
onto the surface to be sanded. While slowly moving the sander forward, gently
lower the drum against the floor. Keep the sander moving forward,
sanding WITH the grain. As you approach the end of the floor, work the lever to
lift the drum from the floor. Pull the sander back to the center of the floor
and position the sander so that the second pass will overlap the second pass by
a couple of inches. Continue to make passes until you finish up one half and
then move to the other half.
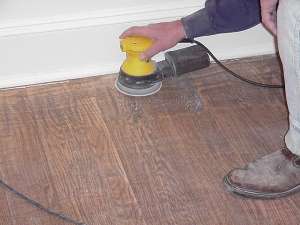
Sanding the floor with a PLATFORM sander
The method for sanding the floor with a platform
(pad) sander is the same as the drum sander. The platform sander tends to
"float" over the surface but continue to push the sander along with the grain of
the wood. A platform sander will also allow you to get closer to the
edges.
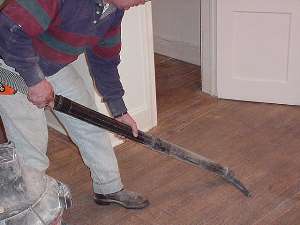
Sanding the Edges
You can sand the edges with an edging sander or a
small random orbital sander. An edging sander will likely be faster. Make sure
that you sand down to the same level that the big sander left.
|