|
Install the Threshold
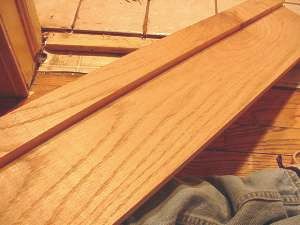
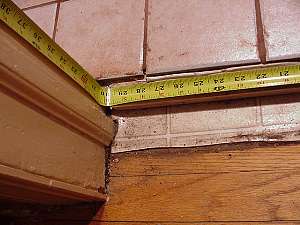
Once you have the threshold
cut to length, slide it onto the area that needs covering. You should now
decide how many screws are necessary to hold the threshold in place. If a
hardwood threshold is being used, you will need to countersink the screws in
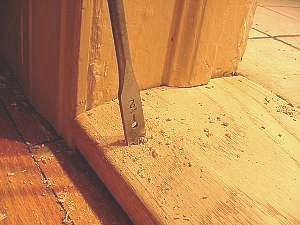
order to conceal the screw heads. The best way to do this is to first drill a
hole with a spade bit that is a bit bigger than the head of the screw. Use a
regular size bit (1/2" or 3/4") as a dowel will be used to fill the hole later.
Do not use a normal twist bit, it does not cut the wood fibers around the edge
of the hole and, as such, a ragged appearance results. Next, use a normal twist
bit that is a smaller than the shank of the screw to drill a hole through the
bottom of the previous hole. Do this for all locations where you want
screws.
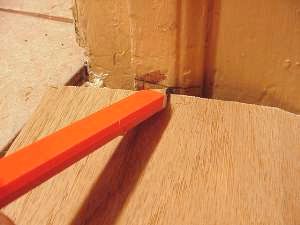
If you are happy with the
location of the threshold, go ahead and secure it to the floor. Use
appropriate woodscrews and try to avoid
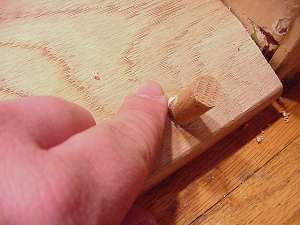
drywall screws as they do not offer the strength needed. Now cut the dowel to approximate
lengths, place wood glue around the outside and slide them into the holes. Wipe
off any glue that squeezes out. Let the glue dry before proceeding any
further.
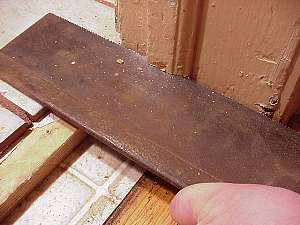
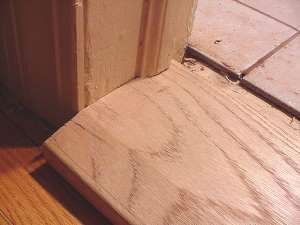
Next the dowels have to be
either cut off or sanded down flush with the surrounding wood. There is a
Japanese saw that is great for this. It is called a "Kugihiki" saw and you can
find it here.
It cuts nearly flush but does not mar the surrounding surface. Alternatively,
you can always just sand the dowels flush. Either way, give the threshold a
final sanding and wipe it clean. Finish it with whatever stain finish you like. I
normally use an alkyd-based polyurethane.
|
|