|
Placing the Tile
Work from the center of the wall towards the edges.
When you push the tile against the adhesive you should use a slight twisting
motion in order to set the tile firmly in the adhesive. If you are using
spacers, now is the time to set the spacers on the outside edge of the tile in
order to work on the next row of tiles.
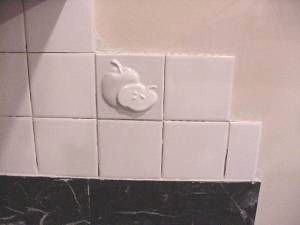
In the installation pictured, I had to work around
several outlet boxes. When you are planning how to cut the tile to go around an
obstruction, keep in mind that you should use a "cookie- cutter" approach. Plan
your cuts so that the tile flows around the obstruction. Do not get caught
piecing together tile around an outlet to fill a row.
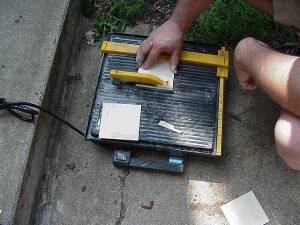
There are several ways to cut tile, click here if you need
help.
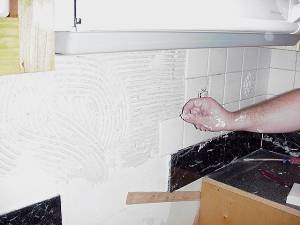
After all of the tiles have been placed and the
adhesive has setup a bit, clean the adhesive from between the tiles and from
their faces. A toothpick is a great tool for this. Allow the adhesive to setup
overnight before grouting the tile
|
|