|
Install the Hardware
Before you hang the sink on the wall, it is best to
install the faucet on the sink. Check the faucet installation instructions for
directions on how to do this. The faucet usually has a gasket that is mounted
in between the faucet and the sink. If it doesn't you may have to use some
plumbers putty. Faucets are normally held in place by large plastic nuts.
Don't install the tail piece (drain pipe) yet.
Hanging the Sink
Hang the sink on the wall and secure the extra screws
to the wall. Check the sink for stability. It shouldn't wobble. Now install
the tailpiece (drain pipe) and the flange (the part you see from the top) into
the sink. Again, check the instructions as it may have gaskets included or you
may have to use plumber's putty. Either way, install the necessary sealant and
tighten up the nut on the bottom of the tail piece.
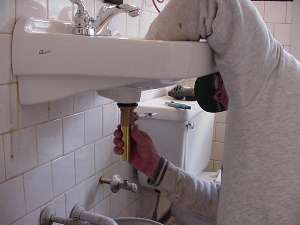
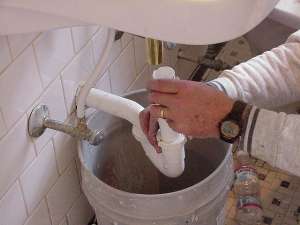
Make the Connections
The next step is to hook up the trap and the water
connections. Plastic pipes are the easiest to install as you can easily cut
them to length. There are prefabricated hoses for hooking up the water and
these require no pipe dope as they already have gaskets.
The next thing to do is to caulk around the top of
the sink. Use an appropriate color (or clear) for this. If you need help
figuring out caulk, click
here.
|