|
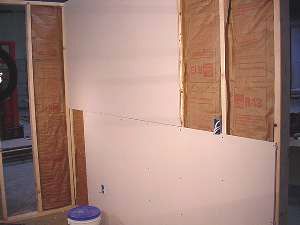
If you are replacing old drywall or have new construction, it's time to
hang the drywall.
You should have completed all the electrical and plumbing work.
Don't forget to run any telephone and now is a great time to run extra CAT 5
cable for a computer network.
Before you button up the wall,
make sure that have had your work inspected.
If you are going to hang drywall on the ceiling, do that first.
Usually you use 1/2" drywall for walls although you could use
thicker if you like. Again, it is a good idea to check local building codes.
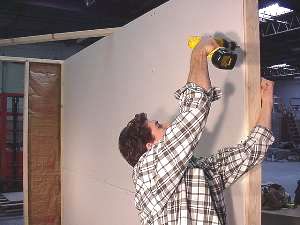
You will also need some fasteners. I recommend 1 - 1/4" drywall screws. They
will not "pop" on you later. You will also need a screw gun or other electric
drill/screwdriver. If you use nails, make sure that you get drywall nails.
They have "rings" on the nail and big heads so that they hold better. You will
also need joint compound (mud) and tape. Use the solid paper tape, it generally provides
better results. Also, pick-up outside corner trim pieces as this will last much longer than just compound.
|
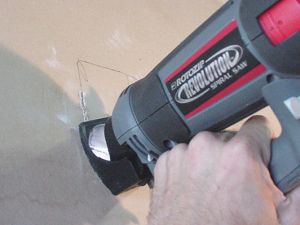
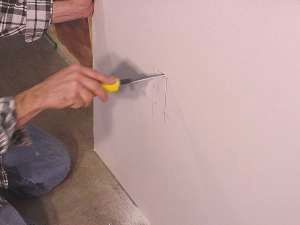
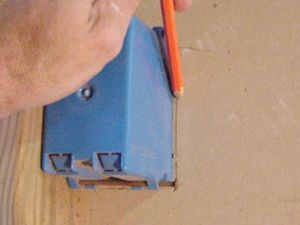
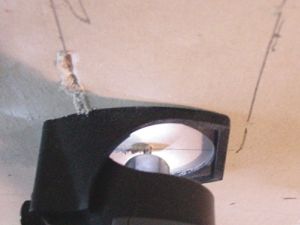
Cutting out for electrical box using RotoZip
|