|
Skimming a Wall |
|
|
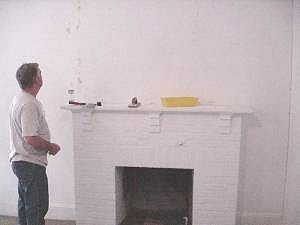
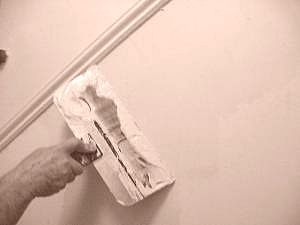
Recently a friend of mine (in the picture) asked me about repairing the walls in a building that he had rented to a small business. The business in question was a "Christmas" Store. Evidently their favorite tool was some sort of electric stapler and the walls were peppered with hundred of holes in some places. Other than this damage the walls were in decent shape. I recommended to him that he "skim" the wall with drywall compound. It is a fairly easy process and generally gives good results. It is not appropriate for walls that have major damage (see the How-To on repairing holes). You don't need any special tools, just some joint compound, a pan and a wide tape knife (the wider the better). I've used this procedure with good results over stucco (sand the peaks flat), plaster and drywall. |
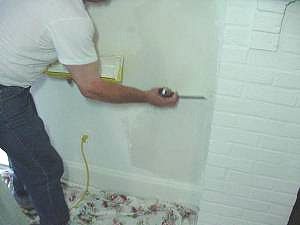
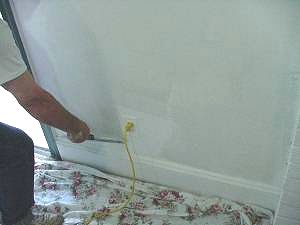
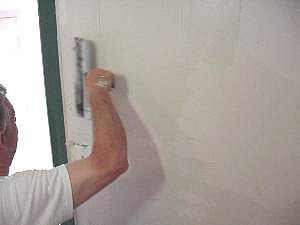
Where to start skimming the wall? |