|
Applying the Caulk
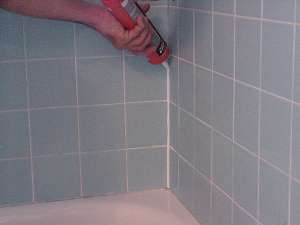
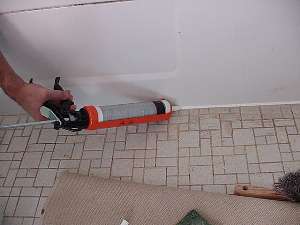
There are two methods for applying
caulk. You can "pull" it or "push" it. Pulling the bead lays the caulk out
behind the nozzle. All of the pictures to the left show "pulling" a bead. Some
people claim that pushing the bead provide better results. In our experience,
pulling provides better results for most people.
Start applying the caulk at one end of
the joint. Apply gentle but constant pressure to the caulk gun and pull the
bead along the joint. You may have to work from both ends if the corners are
tight.
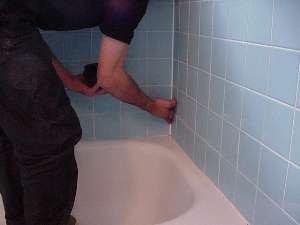
When the joint has been completely
covered, release the pressure on the caulk gun and set it aside. Working
quickly, dip your fingers into the soapy water and begin to smooth the bead.
You will likely have to dip your fingers several times. If at any time during
the process you get silicone on your fingers, stop and clean it off. Silicone
sticks to itself and if there is silicone on your fingers you will pull the
caulk from the joint and spoil the look of the joint.
Pull the tape from the joint, making sure
that you do not pull up adjacent tape. Inspect the caulk, it should completely
seal the joint. If it does not, wet your finger again and seal any gaps. The
most common place for this to occur are in the grout joints. Sometimes pulling
the tape off will pull the caulk away from the grout.
|
|