|
Installing the Base
The base is the substrate that the tile
will be mounted on. It must be solid and stable. Cement backerboard is
considered the best choice but plywood is sometimes used instead. Cement board
has a cement core with fiberglass mesh on either side. If you use plywood, use
plywood that is made for sub-floors. It is 3/4" thick and has a tongue and
groove edge milled on it. Both are installed in essentially the same
way.
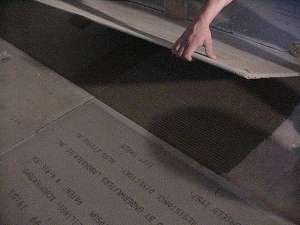
Plan your installation so that the joints
between the cement backerboard (or plywood) do not line up with
the joints in the subfloor and so that the joints in the backer board (plywood
or cement) are staggered. It is generally a good idea to cut your backerboard
ahead of time and then dry fit the cut sections to make sure that the pieces fit
and your joints are staggered. If you do not know how to cut backerboard, click
here.
Prepare your adhesive, if you are using
thinset, mix it up according to the directions. Construction adhesive requires
no preparation. If you are using thinset, use a trowel or
the smooth edge of the notched trowel, to spread your adhesive on the
subfloor. Apply enough adhesive to secure one section of backerboard at a time.
After a sufficient amount of adhesive is on the floor, use the notched edge of
the trowel to "raise" or "comb" the adhesive into smooth
rows.
If you are using construction adhesive,
lay out a decent bead around the perimeter and
across the middle. Check the tube for working
times, it may cure faster than other adhesives.
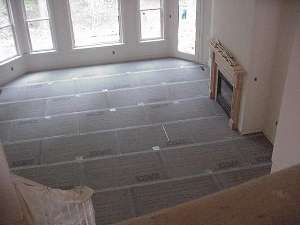
Only lay down one sheet at a time, don't
try cover the whole floor at once. After you have the sheet down, screw it down
using cement board screws (drywall screws work for plywood). You should use one
screw every 8 or so inches. If you are using cement backerboard, stay at least
an inch away from the edge or it may crumble.
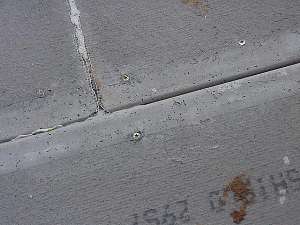
If you are using cement backerboard, you must also tape the joints
using a mesh tape and thinset.
|
|