|
Grouting the Tile
After the tile adhesive has had time to dry (usually
overnight) it is time to grout the tile. Remember to choose sanded or
non-sanded grout depending on spacing you used. Most wall tile installations
use non-sanded grout. Grout is also available pre-mixed or dry. The dry mix is
easy to blend, just follow the instructions. It should be fairly thick, but
not so thick that you can't force it into the joints (gaps).
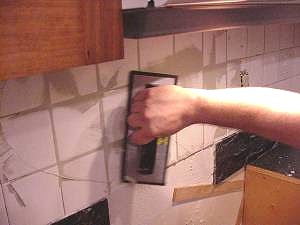
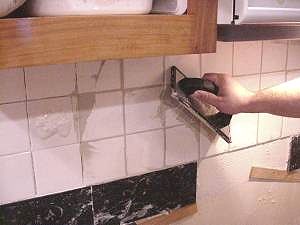
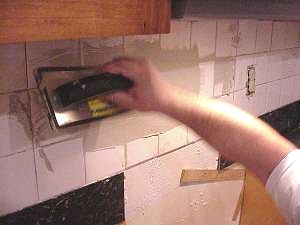
After the grout is ready to go, take your foam rubber
float or other appropriate implement and scoop some grout out. Place the grout
on the wall and holding the rubber float at a 45 degree angle to the work piece
run the float parallel to the joints in the tile. Round up the excess grout and
run the float over the surface several times in order to fill in the joints.
When the gaps are full, run the float over the surface at a 45 degree angle to
the joints. Run the float over the surface several times until most of the
grout is either in the joints or on the trowel.
|
|