|
Plan and Cut
Examine the area that you want finish.
Depending on whether you have inside or outside joints will determine how you
deal with your layout. In general, you install the 1x4 molding first, the cap
molding second and the shoe or quarter round last.
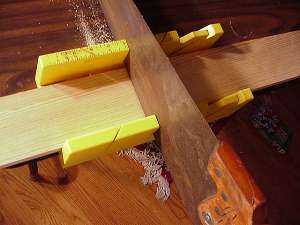
For the 1x4, measure your walls and cut
the boards to length. When marking the boards, mark on the side that is towards
the wall. For inside corners you can use butt joints if you like (I prefer 45
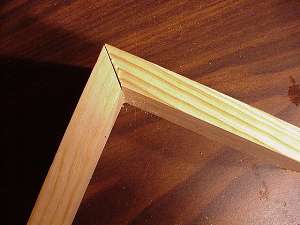
degree miter cuts). The outside corners need to be mitered at 45 degree angles.
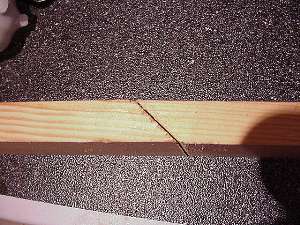
If the run is longer than your longest board, make sure that you use a scarf
joint. Miter the ends of the boards to 45 degrees. The overlap will help hide
any gaps that may develop when the trim expands and contracts.
Prime the trim before installing it.
Make sure that you use an appropriate primer for the type of paint that you are
using. Do Not skip this step. If the 1x4's have knots or sap pockets, these
will work their way through the paint if you do not prime them.
After the primer has dried, secure the
trim to the wall. The 1x4's are secured to the wall by nailing the trim into
the studs behind the wall. The easiest way is to use a stud finder. (Buy one
here) Use 2" 8-10 penny finishing nails. Make sure that you "set" the
nails by using a nail set to drive the nail head below the surface of the board.
|
|