|
Applying Adhesive and Tile
The next step is to apply the adhesive and set the
tile. Thinset mortar is really the only choice you have for showers. Tile
mastic is generally not recommended for showers and other areas regularly
exposed to water.
Mix up the thinset in a disposable bucket. The
thinset should have a "latex modifier" included. Some thinset is available with
this already in the mix. Some brands do not include it and you have to add it.
It is available in liquid form, check the directions on the
containers.
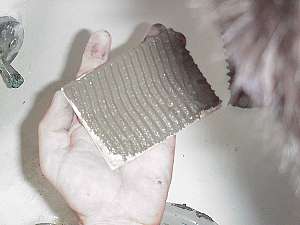
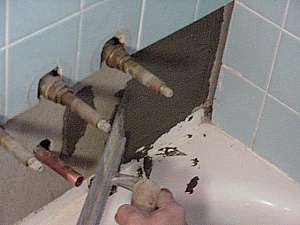
Apply the thinset to the wall. You should use a 3/8"
notched trowel to apply the thinset to the cement board. Make sure that you
apply it in even rows. If the area that you are repairing is especially tight,
you may need to "backbutter" the tile. In order to backbutter the tile, spread
some thinset on the back of the tile and then use your notched trowel to spread
the thinset out evenly. You can backbutter all of the tiles if you need to but
it takes a lot more time.
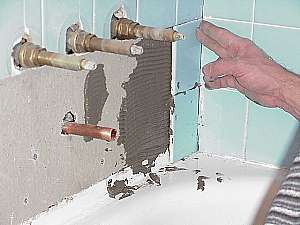
Next, begin replacing the tiles on the wall. You can
use spacers if you need to but for small areas they really are not necessary.
If you are working on the course of tiles at the bottom, you should shim them up
a bit so that you create a joint that the grout can get into and seal. Wipe any
thinset from the face of the tiles before it sets up. You should also scrape
any thinset from the joints so that the grout has a gap to get into. Let the
thinset dry completely before you continue.
|
|