|
Laying the Tile
Start in a corner or other convenient
place. Remember to work towards a door so you can get out of the room! The
best way to do this is to lay the tiles along the lines you laid out before.
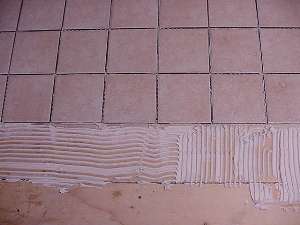
Using a trowel or the smooth side of the notched trowel, begin spreading your
adhesive. Lay out a bed about 1/8" thick over one of the squares that you laid
out before. After you have a sufficient amount of adhesive on the floor, use
the notched side of the trowel to "comb" the adhesive into even rows. Hold the
trowel at a 50-70 degree angle when doing this.
Place your first tile on the floor right
along the layout line that you snapped earlier. If you begin right along the
wall, remember to leave a 1/4" gap between the tile and the wall. Place the
tile on the adhesive and then give it a slight twist to one side and then back
again. (It isn't a bad idea to pull up a tile every now and again to check that
your method is working well.) Next place a spacer on every corner that will
adjoin another tile. Put another tile down and push it tight against the
spacers. Repeat the process with more spacers and tile until you complete the
square.
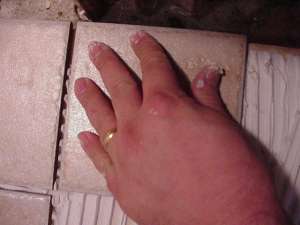
After you have completed an area, take a
beater block (usually a piece of 2x4) and lightly tap on it with a rubber mallet
to level the tiles. This will also ensure that the tiles are firmly bedded in
the adhesive.
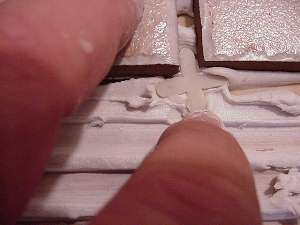
After the tile sets up a bit, about 30
minutes, you should pull the spacers out from between the tile. There is a
special tool to do this but a small screwdriver and needle-nose pliers will also
work.
Let the adhesive dry completely (check the
adhesive instructions for drying times) before you walk on the tile.
|
|